Saturday 21 December 2013

The finished Dulcijo.


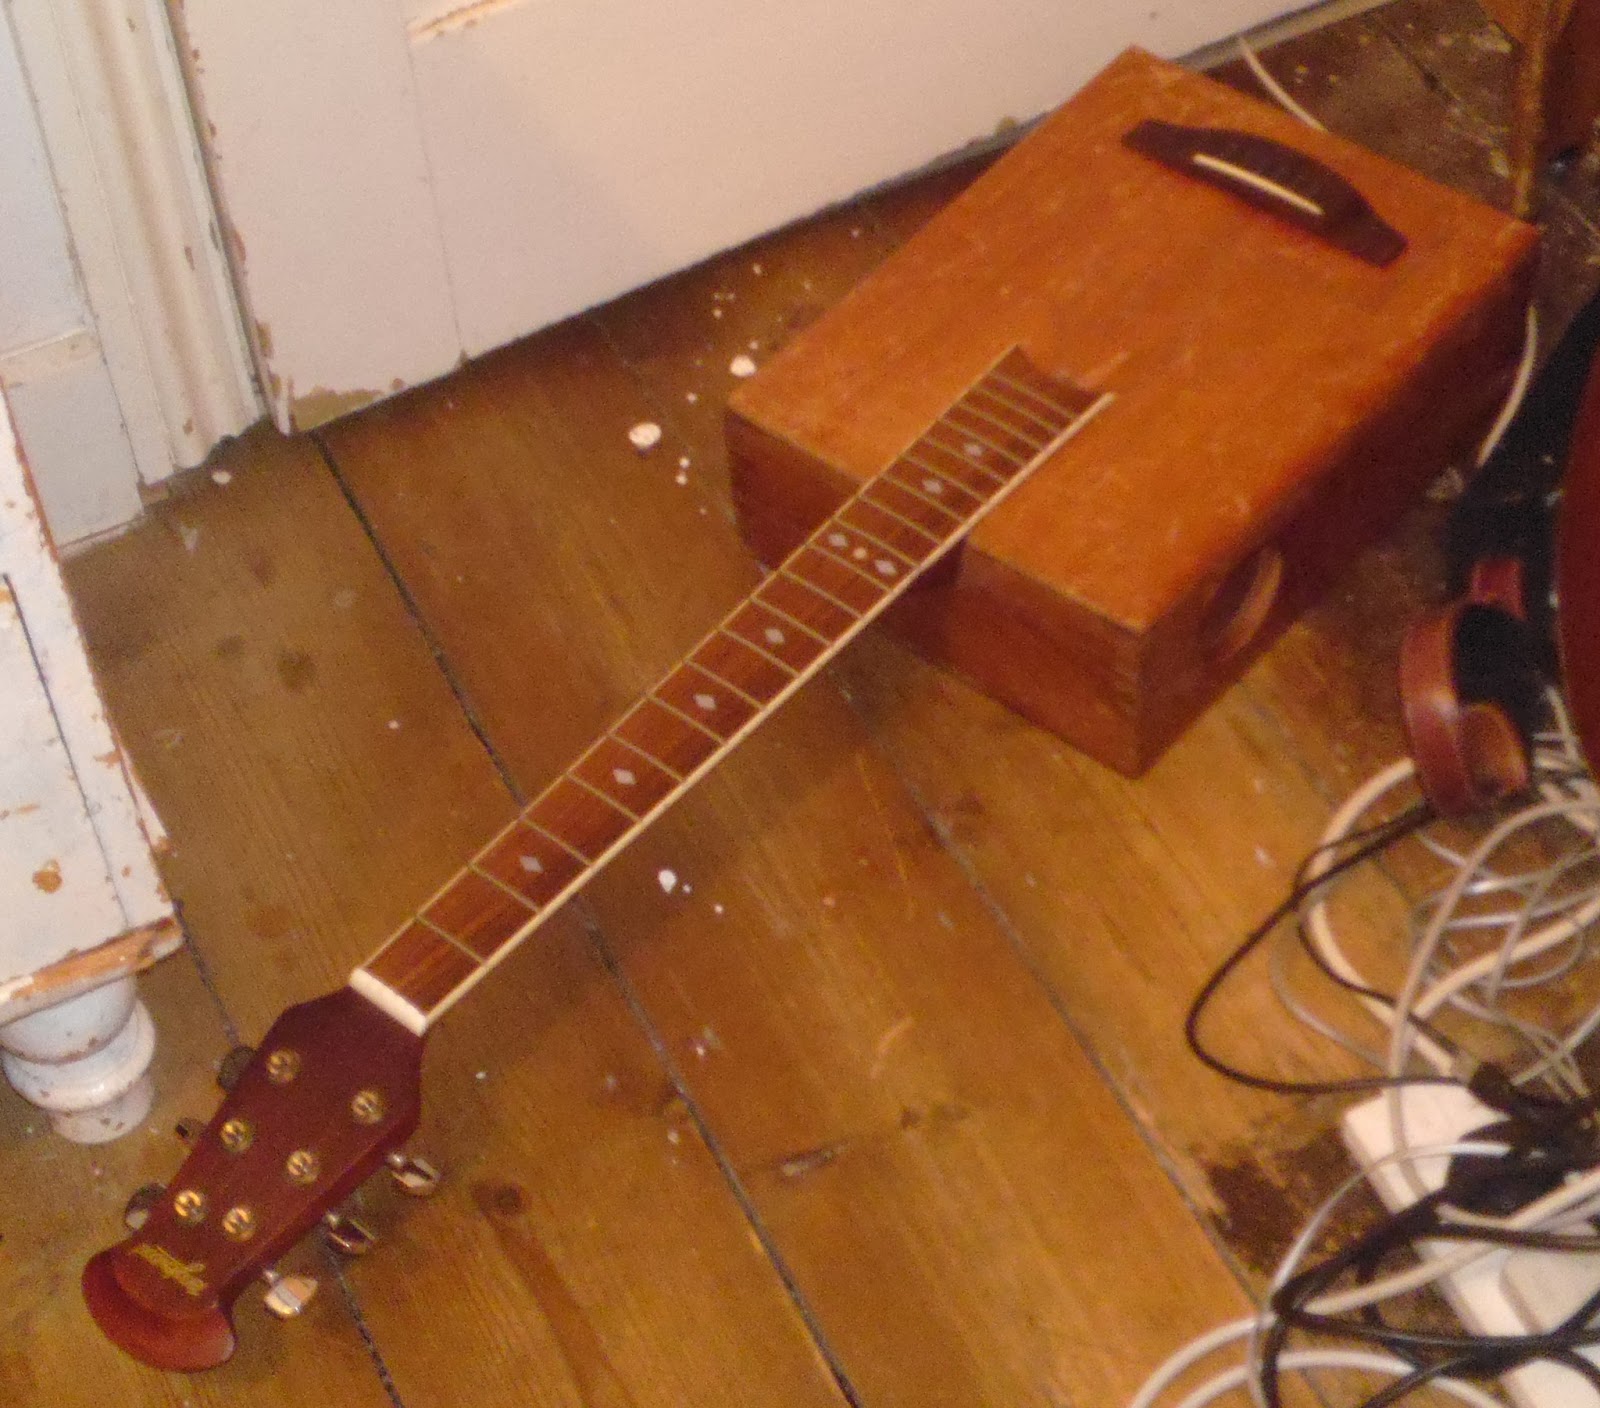
Finished Dulcijo with my Dulcimer, it sounds amazing!A real authentic banjo sound and really loud! I've been having fun playing my dulcimer tunes on it though bcz it's played like a a guitar rather than across the lap it reverses all the fingering!  I'll post some better photos when I have the chance to take them and maybe a video once I've leart to play it better, I keep meaning to visit my local folk club again and this is just the thing to take along. The lower picture is of the drone string nut arrangement, using a slotted screw for a nut and another filed down into a hook. 
A short festive demo. Good-King-Wenceslas

Wednesday 4 December 2013

Sunday 17 November 2013

Dulcijo neck progress

Laid out to see how it'll look

Working out the neck angle, a tricky job I often get wrong!


Neck heel shaping


A new neck extension rod made from scraps, drilling the hole in the neck at the correct angle is going to be difficult!


Monday 4 November 2013

Some Dulcijo progress


Dulcijo neck cut out but despite having the time to work on it (as I'm unemployed - yet again) it's far too cold to do much out here.

Friday 25 October 2013

Dulcijo

reskinned my "Ganjo" with a proper vellum skin, a tricky job in itself! The "ganjo" was a short necked guitar(ish) banjo I built several years ago by making a new neck for a zither banjo with a broken neck  but still wasn't happy with the result, nothing wrong with the reskinning but like most guitar banjos 6  strings make it sound muddy and the lower two don't sound good at all! But then stumbled across the Dulcijo
,  a cross between the dulcimer and banjo that really does sound authentic  and  (unlike the steel guitar) is immediately playable so have decided to covert it into one of these.Listen to this!

                                              Ready for bandsawing...more to come!

Lap Steel

I've always loved the sound of the lap steel and built this in June-July but C6 tuning has no relation to standard guitar tuning and I can't play it at all! Just as well it didn't cost much to build!

Saturday 2 February 2013

The perils of Danish oil


I wanted to make my guitar look pretty and make the body colour match the neck so I decided to apply some danish oil as this was far easier to apply than varnish, I had heard not being hard like a varnish that it could effect the sound quality but considered my box guitar to lowly for it to notice WHAT A MISTAKE! The moment I wiped some across the sound board it was like my strings had aged a year or two! Instant mahogany to plywood! I know it hasn't had a chance to dry yet but  I've already unstrung it and scraped down the top under the strings and intend to do the rest in time,the top is super thick so it isn't exactly risky and  hopefully it will start to improve once the oil has dried a bit more. 
 --------------------------- That was on Tuesday, last night (Friday) it had improved a little but not back to anything like how it was but I took it out to an acoustic open floor night but was glad I took an amp bcz it was almost inaudible even in a quiet venue like that. But through an amp it sounded GREAT and got encouraging comments from other players, I think I have a new main gigging guitar!

Sunday 27 January 2013

Free recycled guitar done!

I still want to scrape down some of the sides but basically it's finished. I need to practice a song so I can take it to an open mic on Friday.  It's not the easiest guitar to play but is quite rewarding, reminds of Dave Rawlings sound, a sweet trebely sound that stands out well against other acoustics.I'm still not sure wheather or not to Danish oil it or not, I quite like the worn  look.

Saturday 26 January 2013

Electrics

Opening up the hole for the preamp to sit in proved the guitar really needs a larger sound hole as it sounded better, more open like the top was moving more so maybe a small one on the front in line with the existing port?? Recessing it like this hides it a little and makes the controls less likely to be damaged. Also I have to fit the battery somewhere and the output jack. I hope it hasn't spoilt it's vintage look too much but it came from the same guitar so seemed to make sense to use it

Wednesday 23 January 2013

Box guitar strung up and playing!

At first it sounded far to harsh and tinny but as the strings are wearing in a more mellow tone is appearing, it is fairly quiet but that's to be expected, it has a very precise almost  hifi sound absolutely no muddyness or boomyness,seems to lend itself to clear lead lines. and has a long sustain. I just hooked up the electronics and even through a tiny amp it sounded very good so I will be installing it. In all a success.more photos once it's got the preamp in the top and has been danish oiled, and maybe a video.

Tuesday 22 January 2013

Strings on...tomorrow

The top and back are scrapped down to remove all the old varnish and the neck is glued in,  at present it's face down with my valve amp sitting on top of it having its bridge glued on, I wouldn't recommend this technique for a standard acoustic guitar! Face down because I can't access the inside of the body to get the nuts on the two screws that are in the bridge so I fitted two extra long M3 screws dipped in tightbond  and hope that the glue will run down towards the top and make a hard plug around them. I'm a bit nervous about tuning it up because it was very hard to get all of Tanglewood's filler off the back of the bridge so I scored it up best i could. Tomorrow I'll string it up and discover what I have created! Gem or junk! If all is well I'll fit the electronics finish scraping the box and danish oil it.

Sunday 20 January 2013

Neck joint block in place.

I've glued in a block to support the neck joint and am using temporary screws to clamp  it in place, the top one will disappear under the heel on the neck and the bottom on will be filled and re-drilled for the strap button.
As you can see the box is very scruffy and maybe now would be the best time to sand it down before I fit the neck and bridge. I'm annoyed that last summer I stupidly damaged the top with my plane right near the sound port and it is probably not possible to make the thing look pristine anymore, but would that really be in keeping with the spirit of the project? It's just ironic that the parts that came from the skip are like the day they left the shop! I have a can of danish oil but that would mean sanding off all of the varnish, it's snowing out side and the workshop is a mess and freezing cold so a no go zone, maybe if I sand down the parts that are hard to access later (around the neck joint and bridge) I have can finish the rest after it is playing....also I'll know if is worth the effort- or not!!


Saturday 19 January 2013

Nothing glued in yet but making good progress! I've just cut a block to support the full length of the original neck joint . Also need to make to truss rod adjuster slot a little larger in the body before I fit the neck.

Sunday 13 January 2013

First photo of skip (dumpster) guitar build.

I'm well aware a blog without photos isn't of much interest so I quickly laid out the parts, now I can see how it looks and also check to see where the bridge will end up, which looks fine. If this were a standard build I'd be pretty near finishing by this stage but it's cold and about to snow and the workshop is a total mess! Still it's something to look forward too once the weather warms up a little! 
 

Saturday 12 January 2013

PS

I've just found this on youtube and it has allayed my fears about the bridge being near the edge of the box  and encourages me to carry on building. I'm hoping it does only sound good bcz of this guys amazing playing though!

The neck is now all cleaned up and ready for a new body! I'm thinking about that mahogany box I started on back in spring last year but it''s so short it would mean that the bridge would only be inches from the edge of the box which can't be good for the acoustics, but then again it does look cool and if it sounds good for practice (after all the sound hole is facing you at the top) and i can plug the thing in as I have kept the under bridge piezo pickup and preamp. I know whan this project will get finished though, the weather is really cold so my workshop is unusable until spring, the neck was done at work in my breaks but I'm not sure if I should take the whole instrument in there.
Sorry there aren't any pictures yet, here is the box as it was from last year.

Tuesday 8 January 2013

Off with it's neck!

Well I could have made it a new solid wood top but I'm not much of a fan of  bowl back guitars and don't really want another regular instrument. So off came the neck! Taking a hack saw to a guitar body some how didn't seem right but I have plans to mate it to a mahogany box I have been meaning to make an instrument from for some time to make a large size cigar box type instrument. I've no idea what it will sound like being all mahogany as well!
I must say I'm not impressed with Tanglewood's building techniques! The neck tenon is glued ...or should I say cemented it with a glue - or filler more like car body filler! I can image them plonking the necks into the over sized sockets  bodies on the production line with a large blob of gloop in the hole!
Next i need to clean the wood from the tenon and remove the bridge.

Monday 7 January 2013

Could you walk past?

Could you walk past a guitar in a skip? (Dumpster US), I couldn't though my wife wasn't impressed! It's Ovation copy, a Tanglewood Odyssey in perfect condition, apart from one important detail, not single dent scratch or ding as if someone bought it with the intention to learn and lost interest.........then lent it against a radiator and let the top warp , you could drive a bus under those strings! SO not such a find, but the neck is dead straight and I have a plan to build a guitar box like guitar and I think the mahogany neck with suit the box I have got , and I have the electrics too!  More soon!
An image of an identical one found on the net